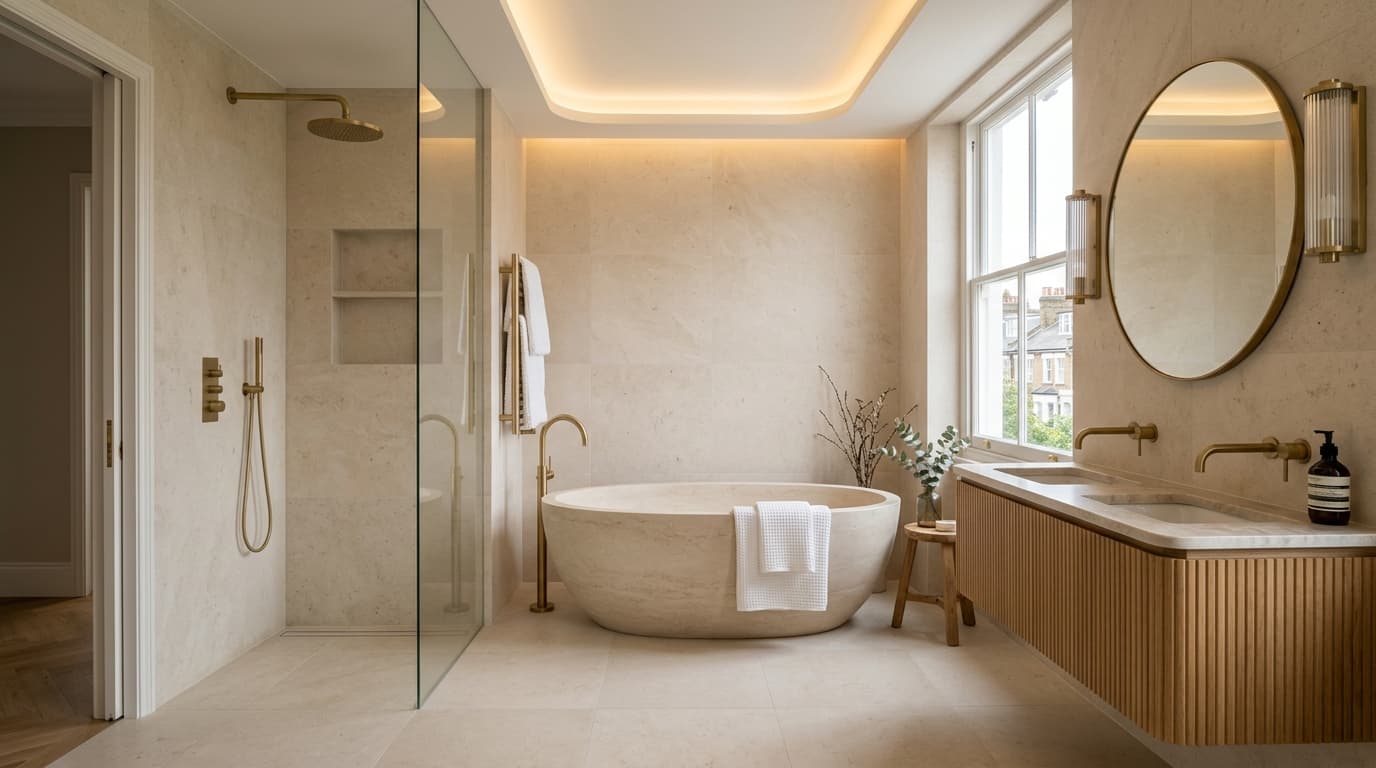
1. Start with your brief, not the tiles.
Before anything else, write down how the room needs to work: who uses it, when, and what’s frustrating about it now. A bath for two young kids and a bath for a quiet adult retreat are different briefs long before they’re different tile choices.
2. Survey what you’re actually working with.
Drainage, water supply, ventilation and the floor build-up decide what’s realistic more than any mood board does. A proper survey tells you what can move, what shouldn’t, and what the room will allow before you fall in love with a layout it can’t support.
3. Set a real budget, itemised early.
A number in your head isn’t a budget — a breakdown is. Split it into labour, materials and fittings, and decide early who’s sourcing what. This is the single biggest thing that keeps a project on track once work has actually started.
4. Choose your layout before you choose your finishes.
Where the bath, basin and shower sit affects plumbing runs, storage and how the room feels to move around in. Settle the layout first. Tiles, colours and fittings are much easier decisions once the shape of the room is fixed.
5. Order ahead of the work, not during it.
Sanitaryware, tiles and specialist fittings can have long lead times, especially anything made to order. Confirm your choices and place orders before the installation date is booked, so the programme isn’t waiting on a delivery.
6. Let the installation run in stages.
Removal and preparation, then plumbing and first fix, then waterproofing and tiling, then fitting and finishing — each stage depends on the one before it being done properly. Rushing an earlier stage is the most common cause of problems in a later one.
7. Snag it properly before you call it finished.
Walk the room together before signing off: check silicone lines, door swings, water pressure and every fitting works as it should. A short list resolved now is far easier than the same issues found in six months.
8. Keep the records — you’ll want them later.
Photos of what’s behind the tiles, the products used, and your warranty details are worth far more the day something needs attention than they are on installation day. Keep them somewhere you can actually find again.
Start your bathroom’s first step.
Every project on this page starts the same way — a brief. Share your postcode, the space you’re working with and what you have in mind, and start yours.
Related: Bathroom installation in LondonRelated: How to make the most of your bathroom spaceCreate your project brief